I was recently talking to member cjameslv (he just completed a 2 controller port mod on a TG16) about the NES/Family hybrid I built awhile back. He wanted a bit more info and so I decided to just make a post about it.
The idea came from a number of sources. I had read about a project someone was working on about hard wiring a Famicom to NES converter to the NES motherboard in order to play NES and Famicom games on one console. At the same time I was experimenting with a Famicom I had A/V modded but was having an issue getting rid of the "jail bar" distortion in the picture output. During this time I accidentally fried something in the Famicom board. Now that I had a parts Famicom I figured I could hard wire the factory 60 pin connector to the NES mother board and maybe even spruce up the outside molding the features I love about both of Nintendo's 8-bit consoles.
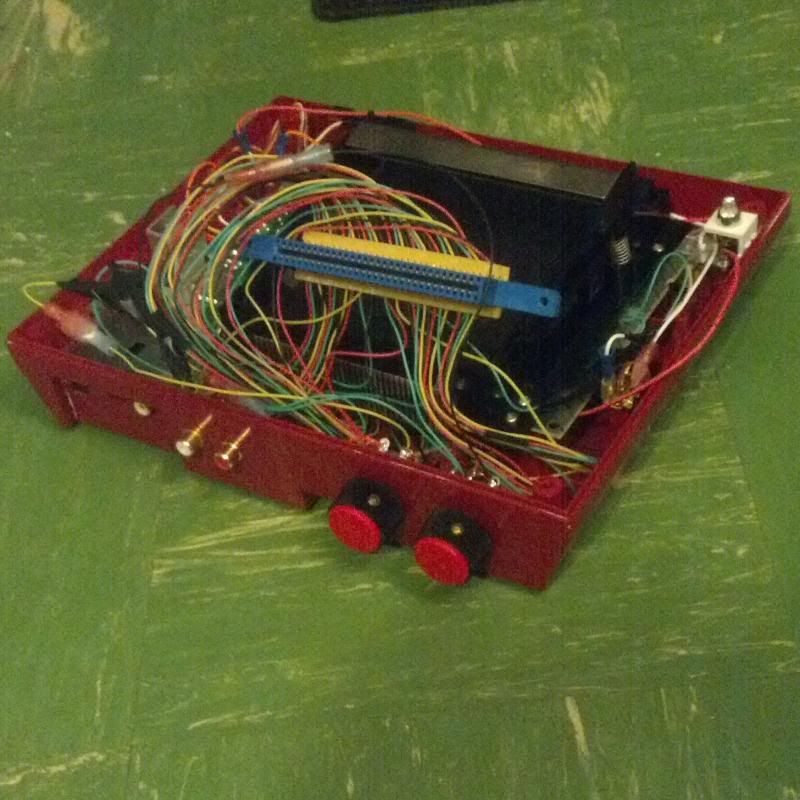
NOTE* Please ignore the sloppy wiring, this was in my early days of modding and I was using spare low voltage control wire I got for free from work (I still use it because it's still free).
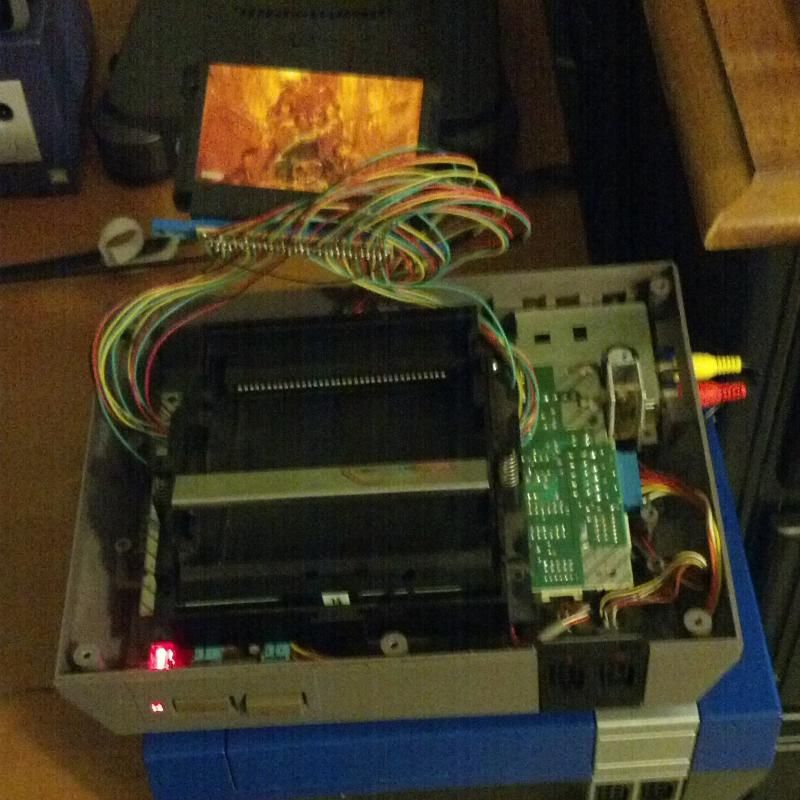
Here, I have the Famicom's 60 pin connector wired to the NES mother board and was testing for proper operation. This is easy because there are a million resources on the web to compare what pins are used for each function on both the Famicom and NES. I just followed the cartridge pins on the NES motherboard back to the easiest spot to add a connection.
2 features I love on the famicom is the built in controller holders and the cartridge ejector. The famicom top needed to be shortened in order to line up with the NES top that it would be attached to (with screws using the factory famicom mounting points. About 1/2" section was removed where the power and reset buttons normally go. The 60 pin connector still screws into this top piece as it would normally. Here is where I was test fitting the Famicom top to the NES top. There are a few other minor things that had to be trimmed for it to sit flat. I love dremel tools! Also, I cut the bottom half of the O.E. NES door off and flipped it upside down. I bored new holes in the NES top to accept the door upside down.
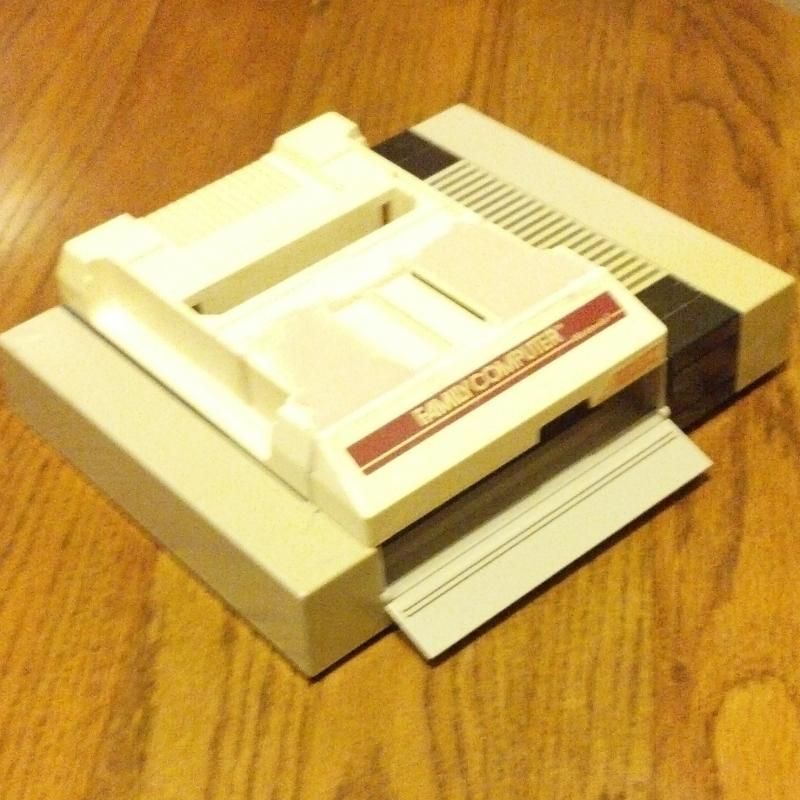
In order to still gain access to NES carts more clearance was needed. I molded hinges into the famicom's top to allow the "snout" to flip open. I considered using Velcro to hold the doors closed but instead opted for magnets so it would be easy to open (with the flick of a finger)
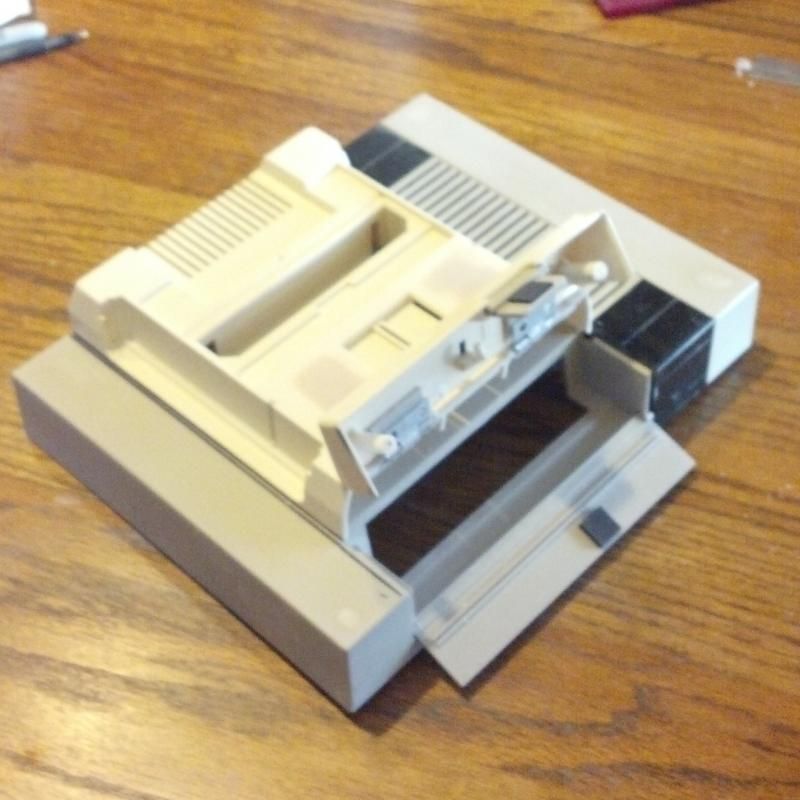
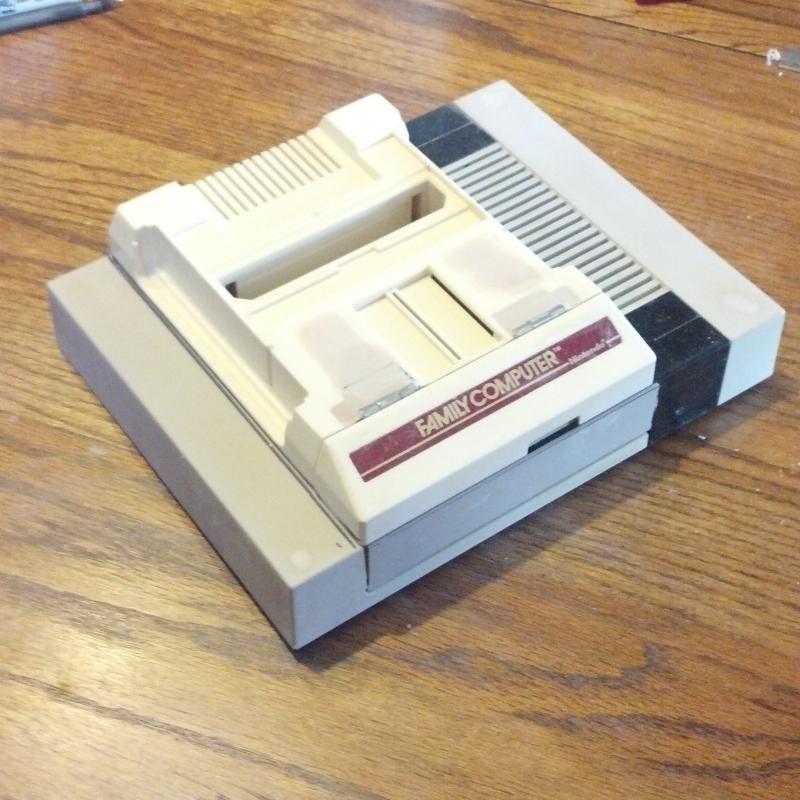
After everything was test fitted and working like I wanted I masked and painted the parts. I progressively sanded all plastics from 800, 1000 then 1500 grit sand paper and primed with duplicolor sandable primer. After primer I wet sanded in 1500 to 2000 grit. I used duplicolor 2x paints (4 coats). After the paint was dry for a few days I wet sanded with 1500 and 2000 grit again. I then used automotive scratch remover polish followed by a carnauba wax to seal and bring out the shine. The only part I intentionally "wrinkled" the paint was the NES door. I wanted to give it a similar texture to factory. I did this by leaving some droplets of water on the door when I painted it.
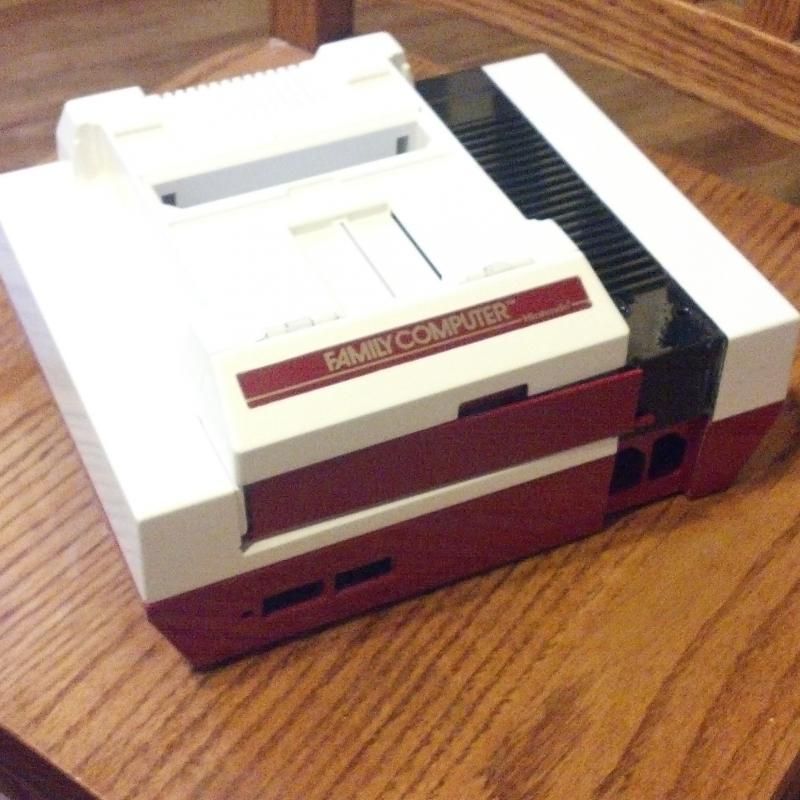
Here is the re-assembly
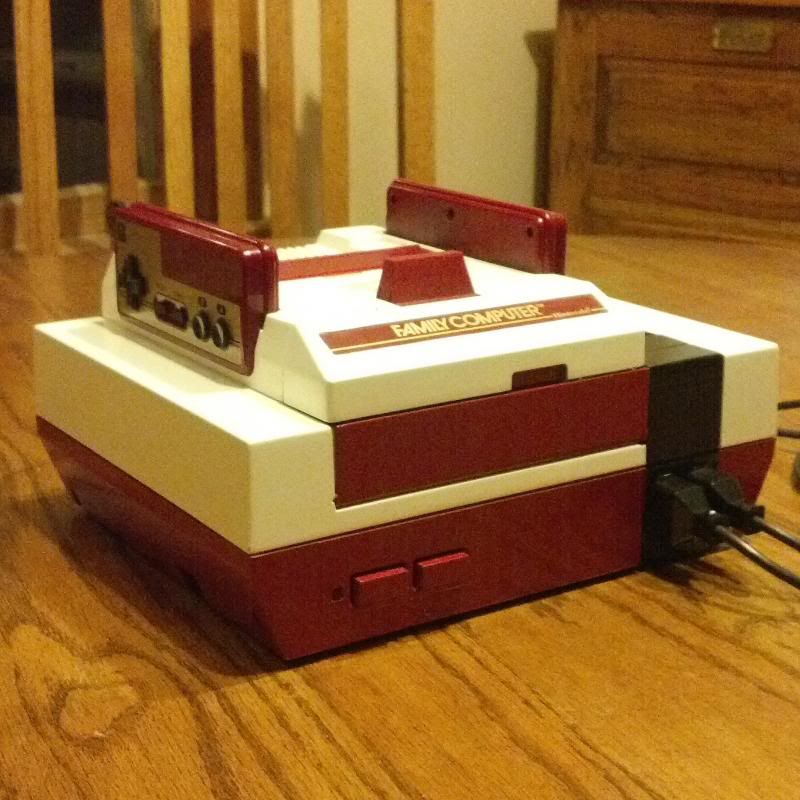
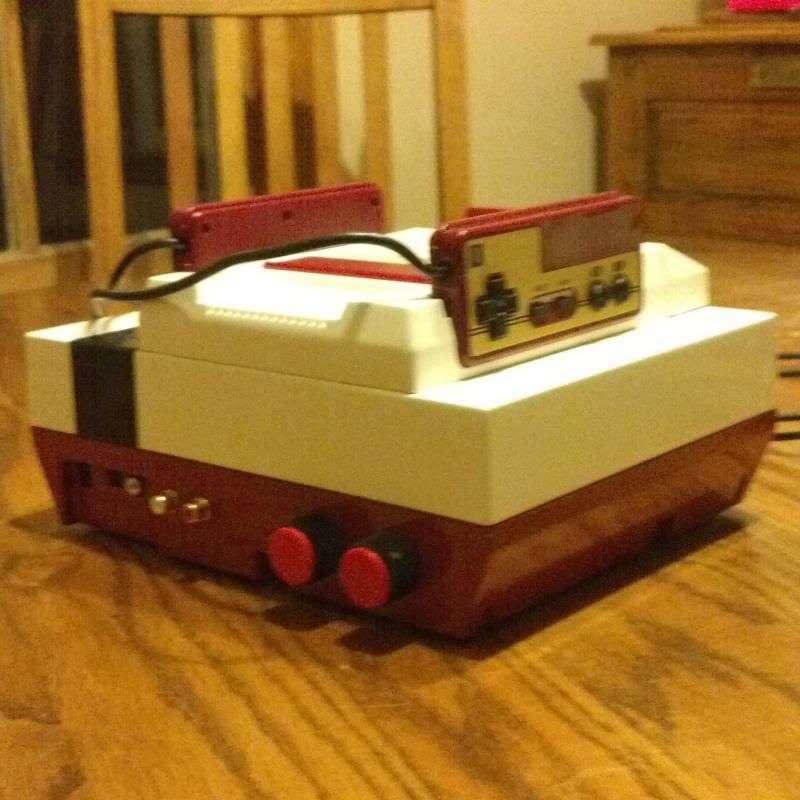
Here is the finished product
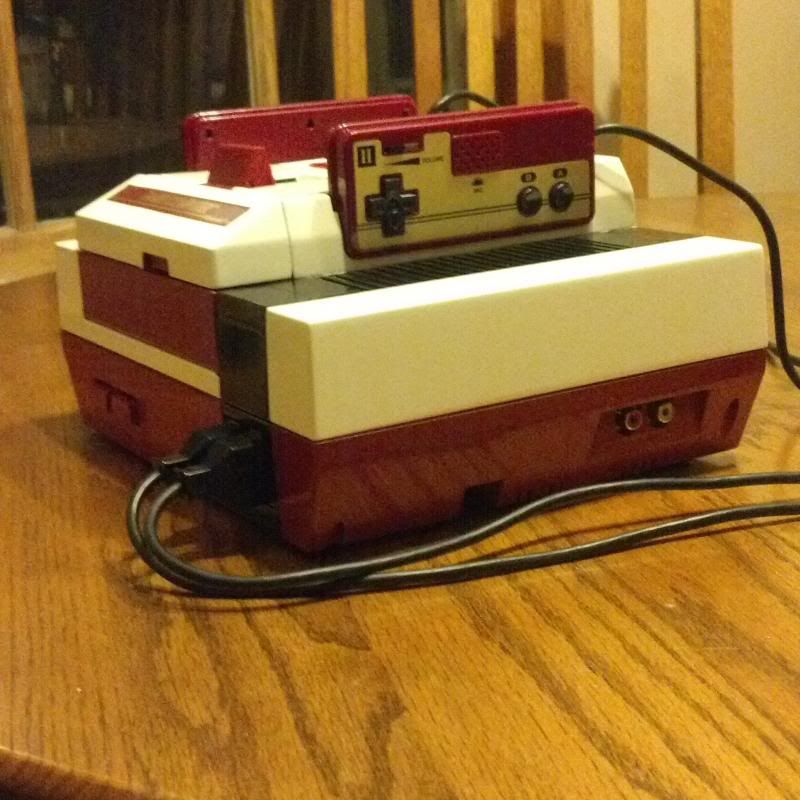

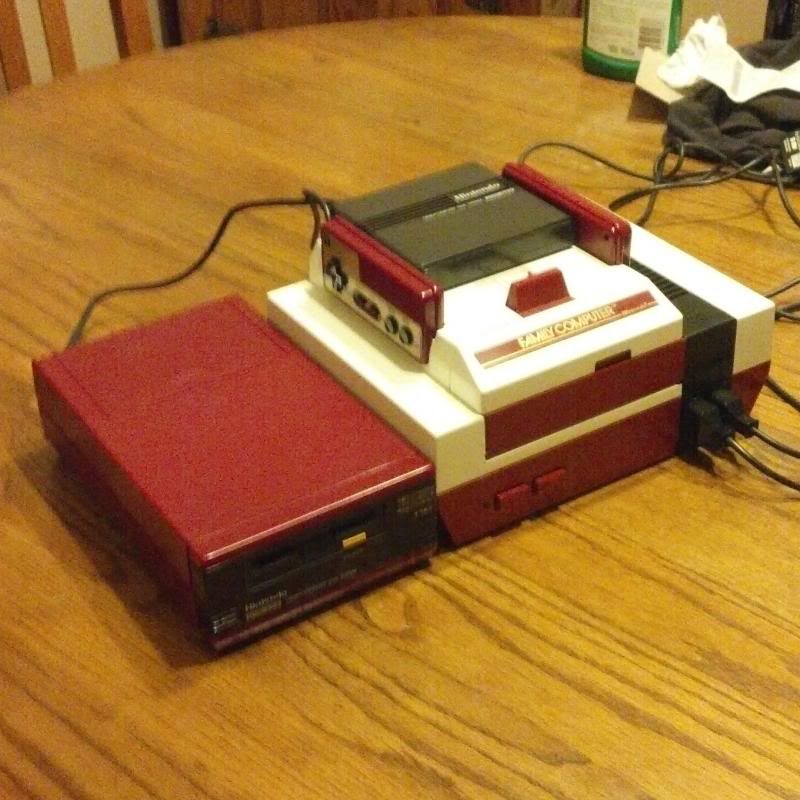
[URL=http://s5.photobucket.com/user/SHOracer14/media/Mobile%20Uploads/IMG_20140930_203554_845_zps45f5466e.jpg.html]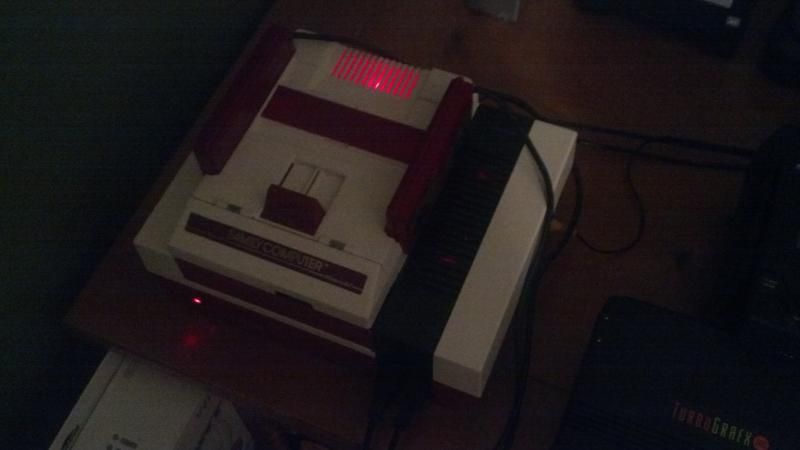
The only other small mods completed were:
Lockout chip disabled
"Stereo" sound mod with mixing
Bright power LED and 5 additional internal LED's for lighting.
Standard NES controller cords/plugs wired to the Famicom controllers (player 1 Famicom controller board is identicle to the NES')
Extra Famicom sound channel added
So there it is. Reliving this project really makes me want to do another extensive console mod.