Sometimes, amazingly detailed.
Sometimes, and often for reasons I don't understand, not. I did a Cadillac crest emblem for a guy I was working with, came out fantastically detailed on the 1st try. Then I tried a Red Wings logo, which is fairly simple, and it took 5 attempts to get something looking decent.
Obviously, a brand new, sharp bit will cut much better than a used dulled one, thats probably where I run into most detail problems, trying to stretch the life of a worn $40 bit. Temperature in my shop can even be a factor, as can feed speeds, spindle speeds ect ... So there are quite a few variables in consistently getting a top notch product.
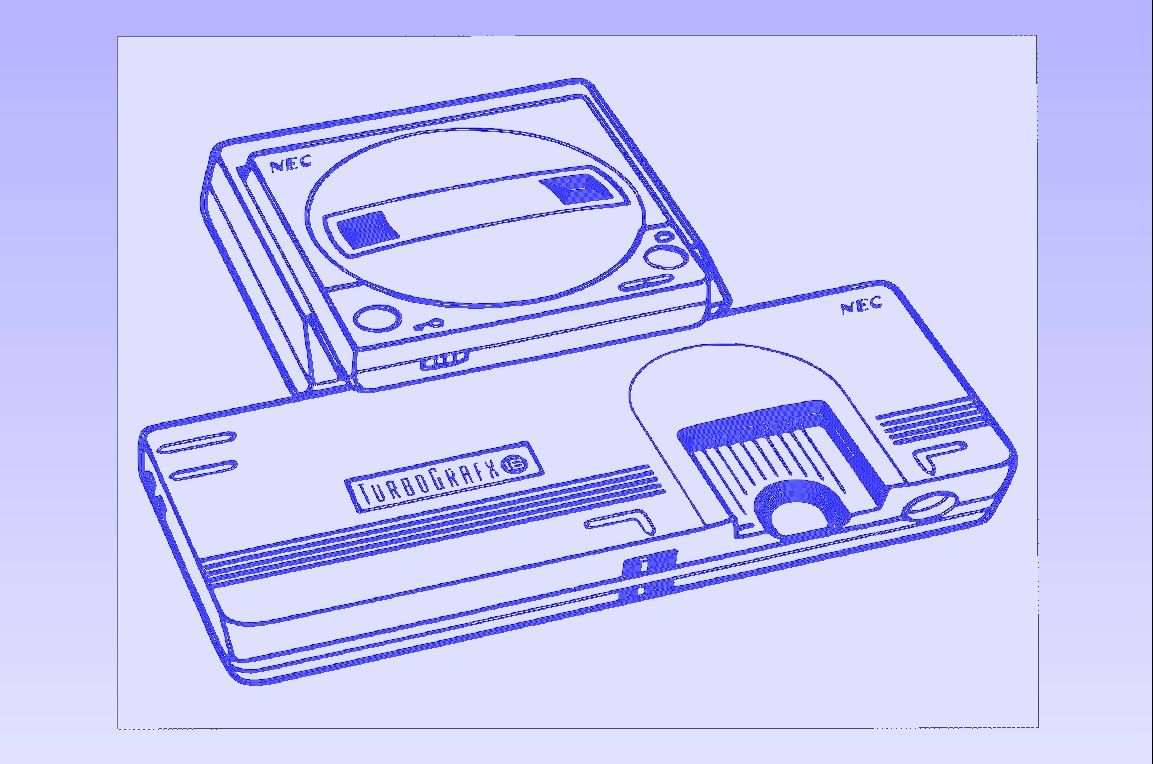
The program I have generates previews of what any given project is supposed to look like when cut, here is one I'm working on at the request on another member.

This is exactly what its supposed to look like when cut. It knows what bit I'm using, how deep I'm going, feed speed, spindle speed, material thickness ect, and its supposed to come out as pictured above.
This is 8x6 also ,,, Generally, the bigger the object is, the better detail you can get - And also, you lose detail the deeper you go, so I like to just scratch the surface when detail is required. It literally takes just a scratch for the edge lit affect to work ,, But some projects that don't requite alot of detail, going deeper gives it more of an appearance of depth, so its really can be a balancing act with these projects, with trade offs to be made depending on what is desired.
But its tough to say, until actually cut with a light beaming on the edge, whether it will look kick ass, or just Ok. Often, I will have to do a few prototypes to find out exactly what settings make it look the best. Not ideal, as it wastes both time & $$, but trial & error is sometimes the only solution.