When I first got this TG16 I connected it to my TV using the RF connector on the side. Clearly time had not been good to this system as the quality of the RF signal was horrible! I didn't get a picture of the RF signal, but it was very snowy. Clearly an audio/video mod was in order. I decided to go with the standard composite video mod you see so many others do, but I did add a little twist of my own. I didn't like the idea of drilling three holes in the case for the new connectors, so I found a way to mount the connectors without modifying the case.
The first step is to tap the video and audio signals from the back connector. This picture shows the TG16 rear connector.

From column 1 we want "SNDR" and "SNDL" for right and left audio. And from column 22 we want "Vid" for the composite video. Here's a picture with the wires attached. I soldered onto the bottom side of the board then fed them through the holes to the top side. The orange and orange/white stripe are for audio, and the green is for the video. The other wires were for other mods (more details later on).

As for a mounting location, I decided to remove the RF unit and use the existing holes in the side of the TG16. Removing the RF unit is not easy. For me to get it off I had to use a good soldering iron, solder wick, a special low temperature solder called ChipQuik, and patience. Here's what it looks like with the RF unit removed.

Next I took a video connector (digikey part number CP-1403-ND). I bent the front center pin aft, and I bent one side pin out flat. Lastly I bent the video pin straight back. When I was done the connector looked like this.

On the TG16 motherboard, I scraped some of the solder mask off where I removed the RF unit from.

Now I can place the connector onto the motherboard and solder it up. One leg of the connector goes through the existing hole, plus the two bent pins can be soldered onto where I removed the solder mask on the circuit board. This gives me 3 solid solder points so I doubt this connector will ever break off.

To mount the audio connector, I first needed to raise the connector up. If I mounted it flush on the board it did not line up with the existing hole in the side of the case. I found a hex nut that was just the perfect thickness. I used epoxy to attach the nut to the board.

Next I used epoxy to attach the stereo audio connector (CP1-3513-ND). I soldered up the audio and video cables. For the video cable I soldered a 220uF/16V bi-polar cap inline, and for the audio I soldered a 10uF/16V bi-polar cap inline. Lastly, I soldered the ground connector onto the motherboard.

When the system is put back together, this is what it looks like from the outside. I think it has a very clean and professional appearance.

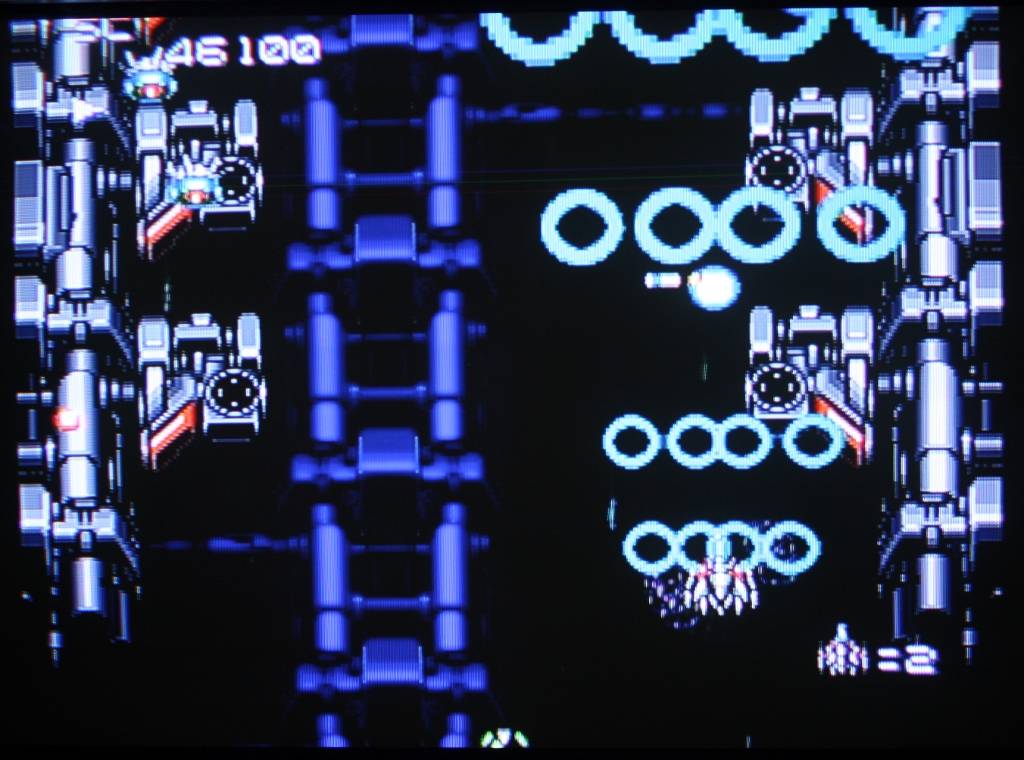
But more importantly, what does the video quality look like? It's pretty darn sharp, especially compared to the original RF. This picture doesn't do it justice, I was having a hard time getting good pictures of the TV screen. But the image is sharp and crisp.
