Michael Helgeson wanted a region converter for his son and had these materials laying around. A busted hucard and slot from a busted pc engine.
I always wondered what i would do if i ever got my hands on a hucard slot.
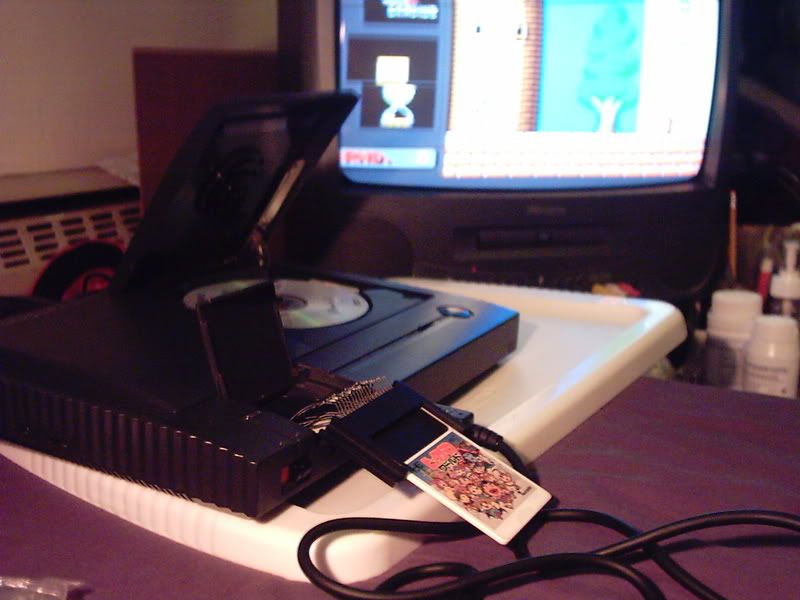
Gentlemen behold.......the WH-1 ultimate converter!
 http://img.photobucket.com/albums/v238/jetbue7/protoMH1pic2.jpg
in action on a duo:

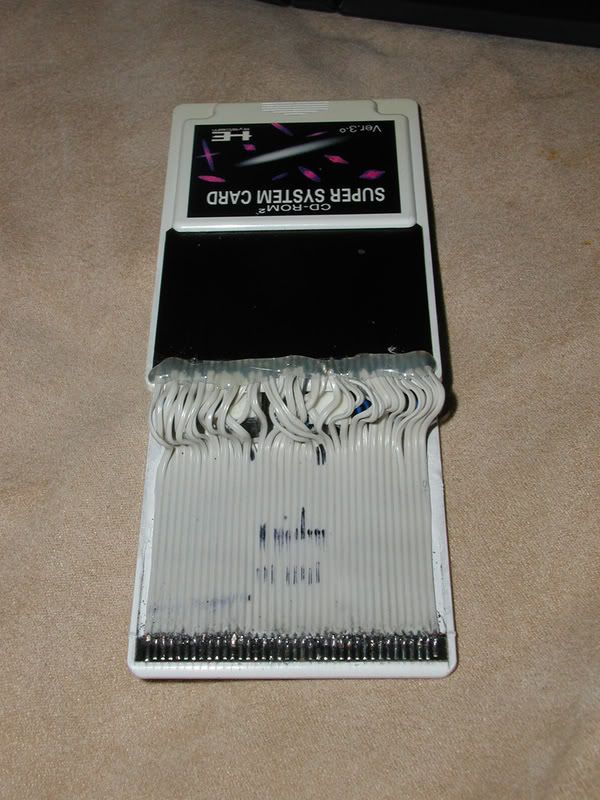
this project took many weeks to finish. And at first was to look similar to one of my other converters using the thin ribbon on a card and wires soldered on the pins.
But all that changed when i noticed the ribbon was out of pitch and michale showed me a pic of this other members creation:

The pins are better aligned and would mean less solder points and less chances for something to go wrong with it.
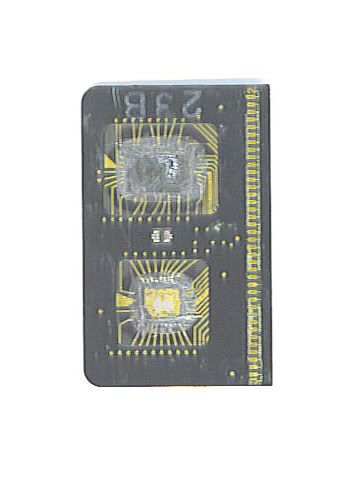
So first i started with the hucard. I was shocked to learn that the chips are on the little black thing. i thought they went all through the card on some ultra thin like membrane:
 http://img.photobucket.com/albums/v238/jetbue7/openhucard1.jpg
Started to hollow out the hucard with a dremel so it can make room for the wires. Decided on using pc floppy cable for the nice order there in. Was gonna do smaller wires:
http://img.photobucket.com/albums/v238/jetbue7/picd.jpgbut it looked terrible.
dremeled the rest of the chip area to about half way through:
http://img.photobucket.com/albums/v238/jetbue7/dremeledcard2.jpghttp://img.photobucket.com/albums/v238/jetbue7/dremeledcard1.jpgset that aside then cut a floppy ribbon to about 6 inches. removed 2 wires to make 38 then used a wire stripper on the ends.
Then removed the traces and chips:

now the hard part,soldering to the pins:
 http://img.photobucket.com/albums/v238/jetbue7/mproto8.jpg
the ribbon was painted black.
then to solder on the hucard slot:
http://img.photobucket.com/albums/v238/jetbue7/almostdone2.jpgand glue it all together.
The gluing was a major obstacle. i tried may epoxies and glues and the ribbon would just rise up off the hucard. A different way had to be found to hold it in place and stop it from wiggling.
Drilling small holes near the top of the hucard seemed best and then weaving wires inside and out to hold the ribbon firm.
*i did not take a picture of this but you can see the wire in the top finished picture*
Does anyone have an idea how i could of held down the ribbon better?
the glue on the chip portion held good. followed the same groves that held the chip on the card with nec's original greenish glue. Pic where glue was placed and not:
http://img.photobucket.com/albums/v238/jetbue7/protoMH1pic3.jpgEverything held strong and worked on the first try on all 3 consoles. Should last a hundred years.
if i get another slot i will mount it the floppy cable connector like this:
http://img.photobucket.com/albums/v238/jetbue7/itfits.jpgits a perfect fit and conducts easy.
So many more ideas can be made. I think i may even be possible to alter region inside of the hucards nice and neat.
I am known in some regions as the full turbo alchemist
