Hello people ,a little mod that i've been working on is finally finished, so i posted the mod on GamesX and now i'm sharing it here.
http://nfggames.com/forum2/index.php?topic=4283.0Finally finished my external rgb mod for the PC engine which plugs into the expansion port ,and is really simple to do with those connectors which are just different versions of the ones you find plugged into your pc's reset/power/hdd led headers.They're nice and thin ,so fit perfectly into the pc engine's expansion port and the holes for the PC engine's exp port pins to fit into are also the exact width apart (2.54mm or.1 inch) and thickness.Obviously ,this won't work with a cd rom rom set up

There is a few ways of doing this ,like having the connectors come from the exp port and going to a small pcb with the amp and a female scart plug on that ,then the user can just buy a scart lead and plug straight in ,but for simplicity sake i opted to just crimp the terminals to the scart lead ,then those plug into the header sockets and into the exp port and the RGB amp is inside the scart plug .
RGB beauty for us englanders :-"
Connections used in my pictures
comp sync =yellow
R=red wire
G=green wire
B=blue wire
5Vcc=orange wire
0Vss(ground)=black wire
Right audio =purple wire
Left audio = white wire
RGB amp inside the scart plug ,can use the 3 Q's (transistor) method for simplicity ,found on
http://www.mmmonkey.co.uk/console/pce/amp.htmThere's also a 95% finished version of the plugable RGB mod which works with the cd rom rom connected in the briefcace .
These mods are mainly for people who don't want to open up their consoles and poke around with a soldering iron when they're not competent using one or don't want to send their console to someone to internally rgb mod it for them.I'll just stick to the internal mod and amp (are there any games that would benefit from each person having a seperate tv screen ,as you can use both mods ,one showing on each tv screen at the same time).
Once i'm done i'm just going to give these finished cables away .
Here we go then
 Items needed


 HT-225D Full Cycle Ratchet Crimp Tool
Ebay Item number: 120639847251http://www.tmbelectronics.com/index.php?main_page=product_info&products_id=481&zenid=6bc4498d20ee14cbb63adfa0d0eaea28
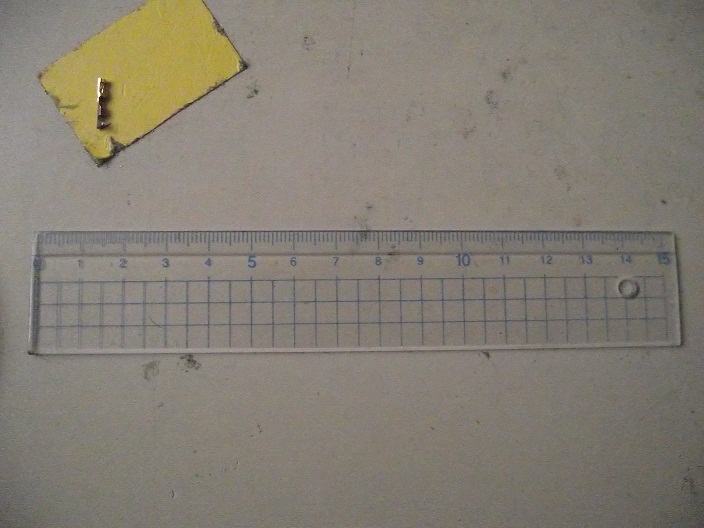
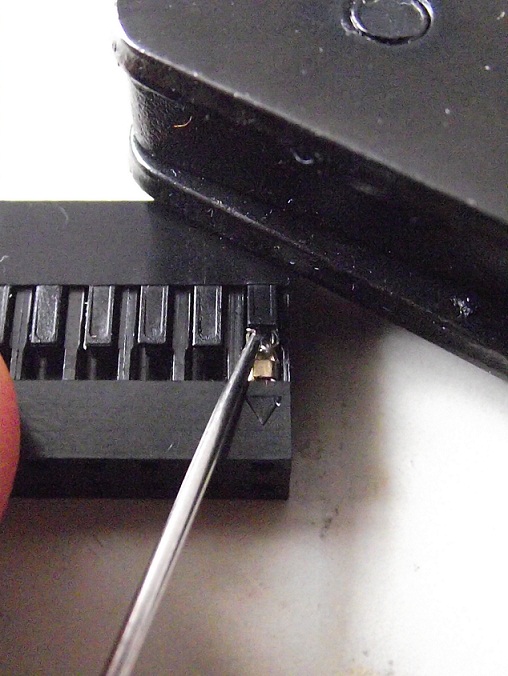
1 x small needle about 0.5mm 1/2mm (half) thick .
This is to help you remove the crimp terminals if you make a mistake and insert one into the wrong slot of the plastic housing.
 20 x 2226TG crimp terminals 24-28 AWG Ebay Item number: 320607064077
Only 8 are needed ,but if you need to practice the method of crimping with the crimp tool,more helps .

3 x crimp housing
Available from
http://uk.farnell.com/multicomp/2226a-02/crimp-housing-1-row-2-way/dp/1593506?crosssellid=1593506&crosssell=true&in_merch=true&http://www.technobotsonline.com/connectors-and-headers/cable-assembly-housings.html 1 x 2226A crimp housing 1 row 6 way (2.54mm /0.1inch wire to board housings)
1 x 2226B crimp housing 2 row 8 way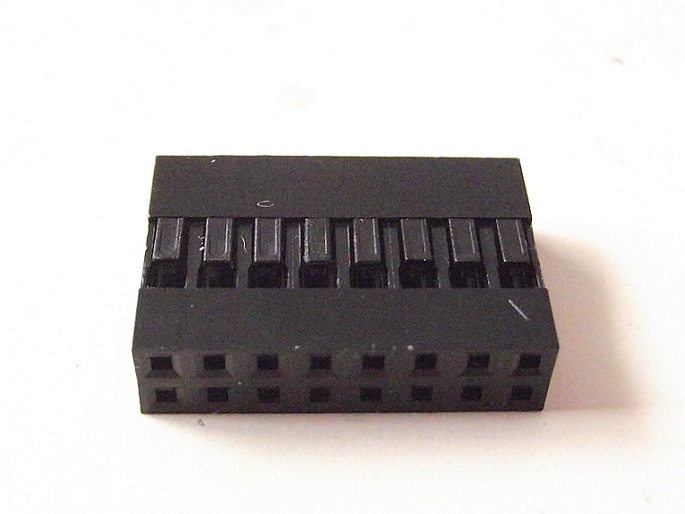 1 x 2226b crimp housing 2 row 3 way
 Heat shrink http://www.technobotsonline.com/cable-and-accessories/cable-accessories/heatshrink.html1 x 9.5cm long and 9.5mm wide
 1 x 2cm long and 9.5mm wide
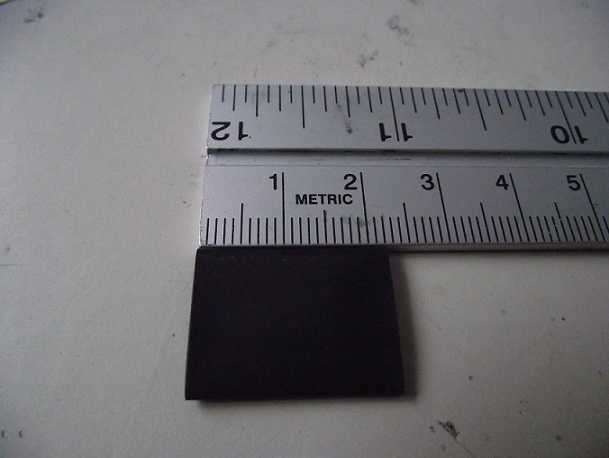 3 x 5.5cm long and 3.2mm wide
1 x 2 metre length of 8 core cable 7/0.2mm
Ebay Item number: 150509337912
 Strip back the black plastic outer insulation, so each coloured cable is this length(with a pair of wire strippers that i forgot to add at the beginning) Roll Eyes
 Now strip each coloured cable so this amount of silver wire is exposed (in mm )

 slide your pieces of heatshrink over your cables,
before crimping the terminals on,as you'll find it less hassle to slide the stuff over ,unlike what i did
Wires red green and black (going to Red Green and 0Vss /ground signals on pc engine /core grafx's expansion connector)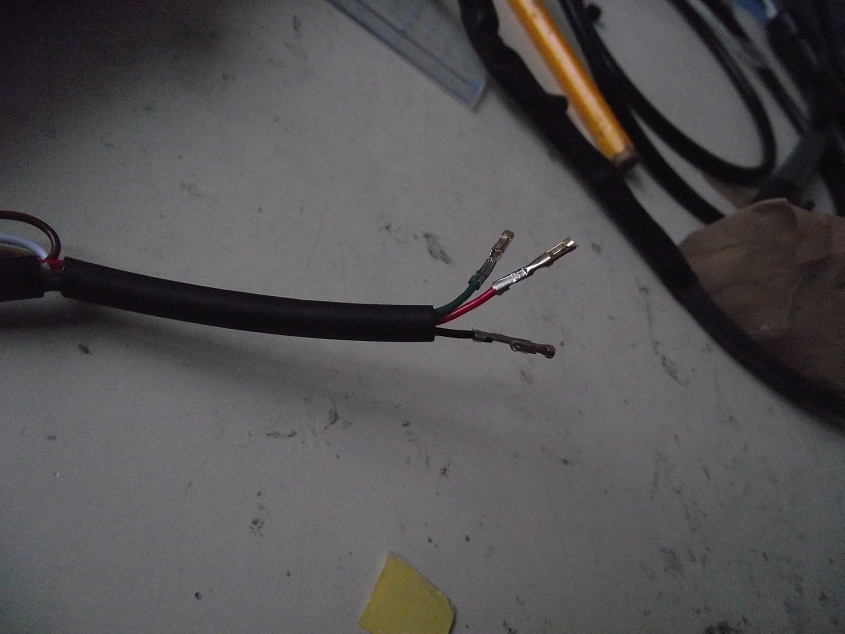 Wires yellow blue orange (Yellow going to composite sync , Blue going to blue and orange going to 5Vcc /+ 5 Volts on pc engine /core grafx's expansion connector)
 You will be left with two wire ,so slide your final piece of 1 x 2cm long and 9.5mm wide overPush the crimp terminal in this way,so the side where the wire that gets pushed into the barrel is on the side of the AWG markings and push the terminal in so it is flush with the side and doesn't stick out at all.Then just close the ratchet crimp tool enough,so as to just hold the terminal when you let go of the handles.
Then just look at the pictures above which show you exactly how far to insert the stripped wire.Practice with the extra spare crimp terminals you have until it's correct.
 Here's how the finished one should look.Almost perfect ,there should not be any plastic insulation in the second closed area.As you can see ,a tiny bit of red insulation has gotten squished inside the area where only the bare silver wire should go
After shrinking the heat shrink with a hair dryer and the terminals are now inserted into the 6 way housing.The unused terminal on the right is just there to see if it gives a more secure fit when pushed into the connector on the back of the pc engine/core grafx.It doesn't really need it,because of the extra unused slots in the housing(hence the reason for the longer than needed housings) 
 Orange (not red) yellow and blue .+ 5 Volts Vcc, Composite sync and the colour blue from the console's RGB mode
 Black Red Green inserted into the 8 way 2 row housing .Note the small arrowhead on the housing ,red wire goes in here
Black is for ground ,red and green are for those colours that the console outputs in RGB mode

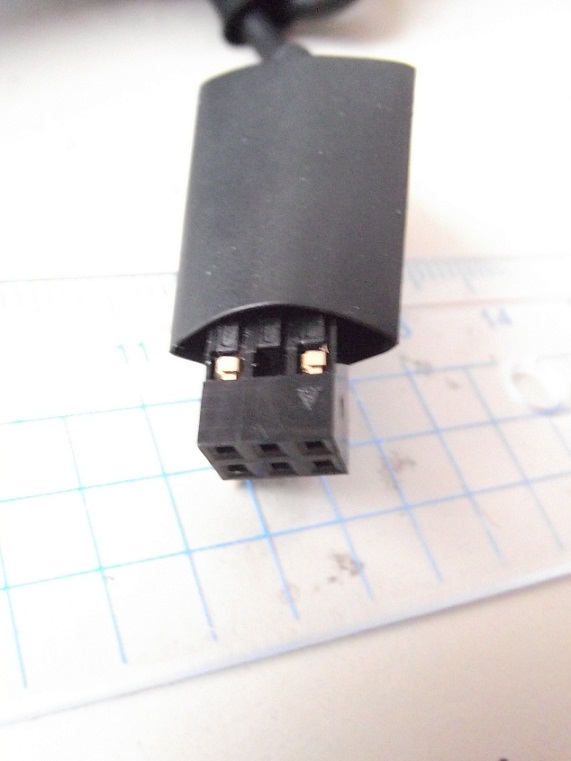
 3 way 2 row housing (this final housing is for the left and right audio channels)
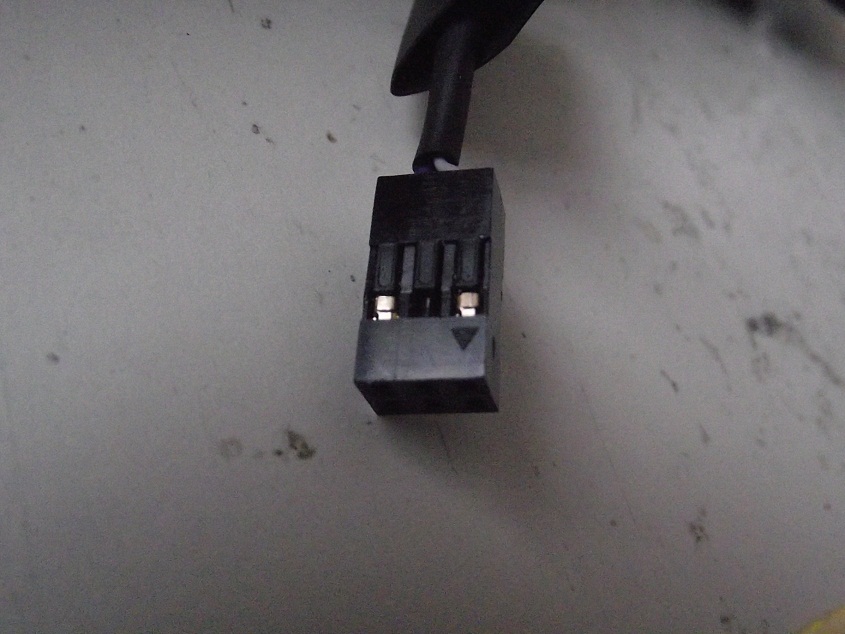 2 cm long 9.5mm wide heat shrink applied and shrunk around housing

 Finished cable and don't forget to shrink that final piece where the coloured cable comes out,on the right of the picture.
 I'm not going to show how to wire up and attach the scart plug or build the simple 3 transistor RGB amplifier ,for that,just follow the simple guides athttp://www.mmmonkey.co.uk/console/pce/amp.htmhttp://www.mmmonkey.co.uk/console/pce/rgb.htm
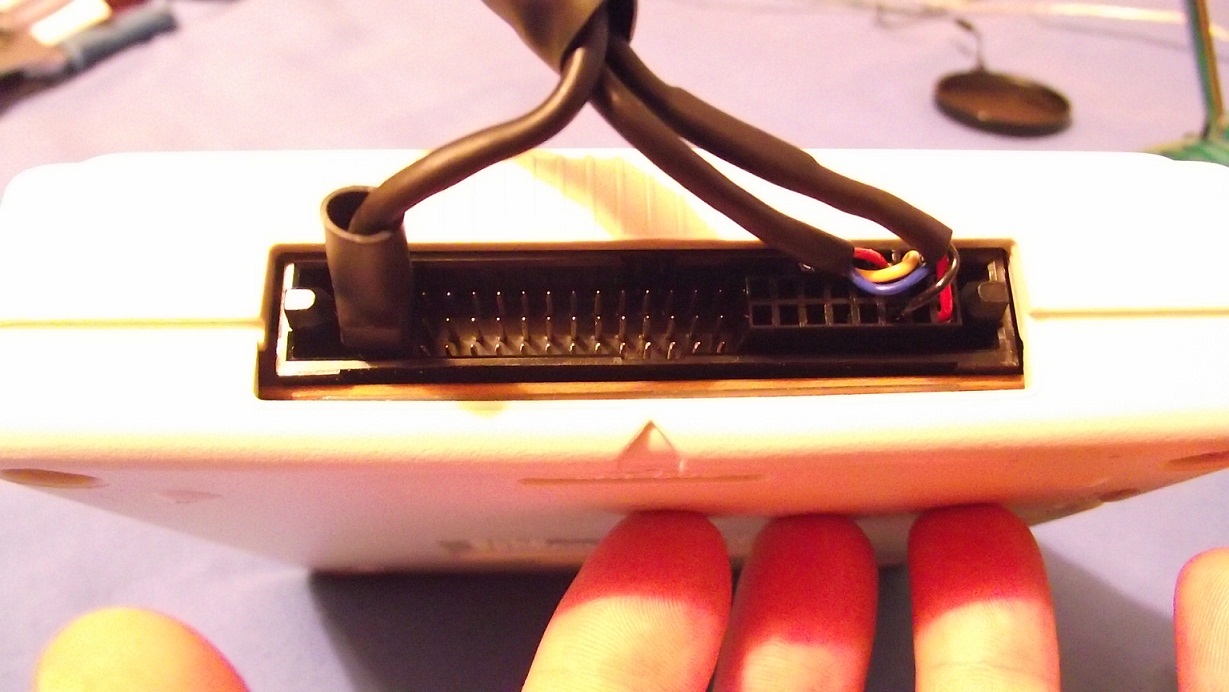
 The insertion point
 Cover off for a better view of the 3 rows of pins
 Follow The PC Engine Exp Connector pin out below and plug in the housing as follows;
 http://www.gamesx.com/misctech/pcebp.phpBlue wire (blue colour signal) TO C 23
Yellow wire (composite sync signal) TO C 22
Orange wire (+5 Volt Vcc (looks red but it's not)) TO C 21Black wire ( ground (Vss) TO A 21
Red wire ( red colour signal) TO A 23
Green wire (green colour signal)TO B 23http://nfggames.com/forum2/index.php?action=dlattach;topic=4283.0;attach=891
Purple wire ( right audio signal) TO C1
Grey wire ( left audio signal)TO A1
 Topic: PC ENGINE Plugable rgb mod via exp port- complete and easy (Read 2230 times)